Understanding Diabetes

Understanding Diabetes
According to the Canadian Diabetes Association, approximately 5 million Canadians have diabetes and another 6 million are estimated to have prediabetes. Every three minutes a new diagnosis is made in Canada, making it very likely that you already know someone living with diabetes or prediabetes.[1]

Both diabetes and prediabetes have long-term consequences for your health and need careful management. This means making healthy lifestyle changes that include regular exercise, a nutritious diet, and supplements.

The first step to making such changes is increasing your awareness. Here’s what you should understand about diabetes.

What is Diabetes?

Diabetes, often referred to by doctors as diabetes mellitus, is a chronic disease that causes high blood glucose (blood sugar) levels. This can be due to low insulin production by the body, poor use of the insulin produced by the body, or both.

Types of Diabetes

There are several different forms of diabetes, each with its own distinct characteristics. Prediabetes, type 1, type 2, and gestational are the most common forms.

Prediabetes

Prediabetes is the stage when a person’s blood glucose levels are abnormally high, but not quite at the level for diagnosis with type 2 diabetes.

Type 1 Diabetes

Also called insulin-dependent diabetes, type 1 diabetes typically begins during childhood. In this form, the body does not produce the insulin needed to stabilize blood sugar levels. To avoid complications, people with type 1 diabetes must take insulin orally or through injections.

Type 2 Diabetes

Approximately 90% of all cases of diabetes worldwide are classified as type 2, also called non-insulin dependent diabetes. [1]

Type 2 diabetes usually, but not always, begins during adulthood when a person’s insulin production slows or their cells can no longer react to insulin. This leads to unstable blood sugar levels. It is often caused by poor lifestyle choices, such as an unhealthy diet, not exercising, and being overweight. The good news is that you can gain control or even reverse type 2 diabetes through a long-term commitment to good nutrition and lifestyle adjustment.

Gestational Diabetes

Gestational diabetes is a condition that affects up to 20% of women during pregnancy. [2] It begins when not enough insulin is produced to keep up with the increasing needs of the mother, baby, and fluctuating hormones, resulting in increased blood sugar levels. Although temporary, having gestational diabetes increases the risk that mother and child will develop type 2 diabetes and the risk for high birth weight. [3]

It’s Not Just Diabetes

There are more consequences to diabetes than the actual condition itself. On top of regular blood sugar monitoring and daily doses of insulin, diabetes can function as a stepping stone to other serious health complications, including: [3]

  • Diabetic retinopathy (the leading cause of blindness)
  • Kidney failure
  • Heart disease
  • Diabetic neuropathy
  • Diabetic foot disease

Lifestyle Changes that Reduce Your Risk

Studies show that you can stop and even reverse the onset of type 2 diabetes by losing as little as 5% of your excess body weight and exercising 150 minutes per week.[4] Boosting your dietary fibre intake by eating more whole grains can also help reduce the risk of developing diabetes in the first place.[5]

Nutritional Supplements

To further support your healthy diet and exercise program, PGX offers a line of products stops the blood sugar roller coaster. Developed by our doctors who specialize in blood glucose management, each product is specifically formulated to support key aspects of health.

PGX lowers the glycemic index of food, smoothes out spikes in blood sugar levels after a meal, and encourages portion control by promoting the feeling of fullness.

Your First Step Toward Prevention

Diabetes is a serious disease that is on the rise throughout the world. Your first step toward preventing and managing diabetes is understanding more about it.

References:

[1] Diabetes Canada. About Diabetes. Canadian Diabetes Association. Available from:
https://www.diabetes.ca/about-diabetes [Accessed 29th October 2018].

[2] Diabetes Canada. Living with Gestational Diabetes. Canadian Diabetes Association. Available from: https://www.diabetes.ca/diabetes-and-you/living-with-gestational-diabetes [Accessed 29th October 2018].

[3] World Health Organization. Diabetes Mellitus. Fact sheet No138. Available from: https://www.who.int/ [Accessed 29th October 2018].

[4] Allende-Vigo MZ. Diabetes mellitus prevention. Am J Ther. 2015 Jan-Feb;22(1):68-72.

[5] Parker ED, Liu S, Van Horn L, et al. The association of whole grain consumption with incident type 2 diabetes: The Women’s Health Initiative Observational Study. Ann. Epidemiol. 2013 Jun;23(6):321-327.

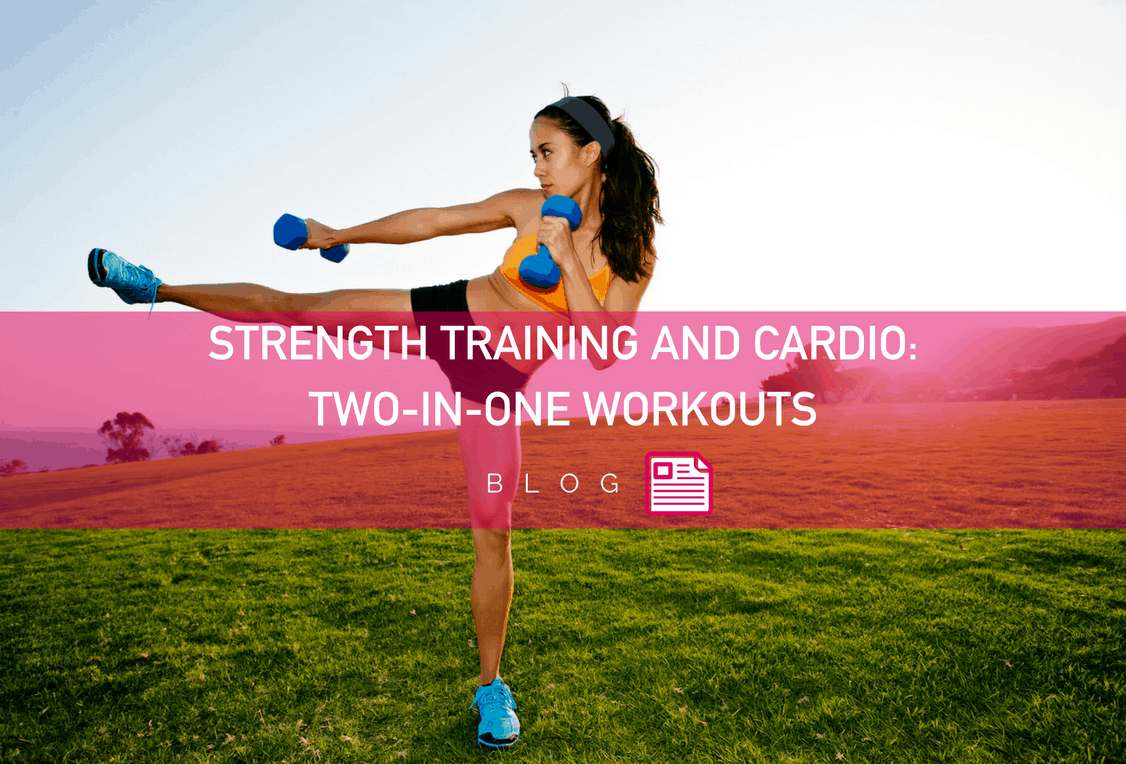
Strength Training and Cardio: Two-In-One Workouts

Strength Training and Cardio: Two-In-One Workouts

Multi-tasking when working out is key, as most of us don’t have several hours to spend at the gym. So workouts incorporating strength training and cardio are a great way to accomplish two forms of exercise at once!

But what kind of workouts pull double duty on cardio and strength training?

Cardio Comes in Various Forms

Before we get to the circuit, I want to spend a few minutes talking about what makes up a great cardio workout.

Certain movements done in a circuit (back to back with no rest) can elevate your heart rate as you progress, giving your body a great cardio session. Many people think of cardio as running, the stair stepper, or high-intensity interval training, but it doesn’t have to be.  You can elevate your heart rate to an aerobic level by doing targeted circuit exercises.

Aerobic and Anaerobic

  • Aerobic: something that you can do for a long period of time without fatiguing quickly.
  • Anaerobic: something you are working very hard at (e.g., sprinting) and can only be done for a short amount of time.

Exercises that double as cardio can be done aerobically, but it could be beneficial to throw in a few exercises that will put your body into an anaerobic state.  For instance, you could do your strength training and throw in a couple of exercises that would spike up your heart rate like high knees, burpees, or jump squats.

A Strength Training and Cardio CircuitA Strength Training and Cardio Circuit

This circuit should be done with movements back to back, and no rest. Each movement can be done for 40 seconds.

Please ensure you are cleared for exercise by your physician before starting. If any exercises cause any pain, please skip that one or substitute with a different movement.

Exercise equipment needed:

  • Dumbbells (light enough that you can press over your head 8-12 times)
  • Water
  • Jump rope

Movement 1: Squat, bicep curl to overhead press

  1. Hold dumbbells at your side as you go into a low squat
  2. As you stand, you’ll start your bicep curl to overhead press. This should be done in one fluid motion
  3.  Once your hands are pressed over your head, bring your arms back to your side and start the movement over again

Movement 2: Up and down arm planks

  1. Start in plank position (with elbows on the ground)
  2. Push up with one hand, then the other
  3. Go back down into plank position with one hand, then the other

Movement 3: Plank to back rows

  1. Hold both dumbbells in your hands in an upward planking position.
  2. Changing arms each time, bring your hand (as a back row) towards your hip keeping your elbow right along your side.

Movement 4:Low Squat Circuit

  1. Start in a wide low squat.
  2. Squat up and down in this position for 20 seconds then hold a low squat for 20 seconds.

Movement 5: V-ups

  1. This is an abdominal exercise. You will start lying down flat on your back.
  2. Lift your arms and legs at the same time to come into a “v” shape with your body, then slowly lower your body back down to the starting position.
  3. With this movement, it’s very important to protect your low back.  Do not let your back arch in anyway, keep your lower back pressed into the ground.

How to Think About Healthy Eating

How to Think About Healthy Eating

If the arrival of summer finds you brimming with motivation to lead a healthier, happier life, great! But with so much information and advice out there, where do you start?

First things first – ditch the diet. Throw out the whole concept of dieting and other health fads and get ready to build healthy habits for life with an entirely new approach to healthy eating.

start afreshStart Afresh

If you, like many people, have gotten stuck in a pattern of yo-yo dieting, dropping and gaining weight over and over again, it’s time to take a step back and start afresh.

The best way to approach healthy eating is to think about how to best fuel your body for life, not just for today. No more three-week diet plans with cheat days. No more ten-day detox diets that leave you hungry and cranky. Instead, it’s time to adopt consistent, healthy practices that are smart, achievable, realistic, and sustainable.

What this looks like in practice will depend on your individual circumstances, including finances, current health status, family obligations, your schedule, and other factors. To help get you started, here are five strategies for lifelong healthy eating:

1. Clear out Your Cupboards

Clear out your cupboards and freezer of anything that you wouldn’t consider healthful. Box it up and take it to the food bank, or give it to family, friends, and neighbours.

So, what are you getting rid of? Cookies, chips, candy, bacon, white rice, canned fruit in syrup, and other high-sugar, high-saturated fat, and nutrient-poor foods.

2. Stock up on Staple Foods

There’s nothing better than a pantry packed with healthy foods to pull from when you’re making meals at home. A healthy pantry should include:

  • Whole grains (quinoa, brown rice, barley, oats)
  • Dried beans and lentils
  • Low-sodium or unsalted crushed tomatoes in non-BPA cans
  • Condiments like nutritional yeast and soy sauce
  • Herbs and spices to flavour food and add nutrients

Stock up your freezer with frozen fresh fruits and vegetables, with no syrups, sugar, or salt added. This way, you’ll have everything you need on have to pull together a simple, tasty, and nutritious meal or snack.

make healthy meals in bulk3. Make Healthy Meals in Bulk

If you have more time to cook on the weekends then do the bulk of your food preparation and cooking then. Things like veggie chili, a Thai green curry with fresh vegetables, and a barley, vegetable and lentil soup can be quickly warmed up and served with brown rice or quinoa when you get home from work.

Leftovers make for easy, healthy lunches too! And, you can save time by chopping vegetables on the weekend and storing them in individual containers. Then you’ll have a batch of healthy on-the-go snacks ready for work and after-school activities.

4. Engage Family and Friends

If you work better when you’re accountable to others, announce your intention to eat a consistently healthy diet to your friends, family, and colleagues. Once you tell them that you’ll be eating a delicious and nutritious salad at work every day, rather than grazing on cookies and expensive sandwiches. They will likely notice (and comment!) if they don’t see you eating that salad.

The same goes for making meals at home. Make healthy your new normal. Soon, your spouse, kids, friends, or other dinnertime companions will come to expect and enjoy a nutritious meal.

5. Harness the Power of Habit and Identity

By taking steps to establish a routine of eating a whole food diet that includes fresh vegetables, whole grains, nuts, seeds, pulses and legumes, there will be little need to avoid daily temptation.

Research shows that a strong sense of identity is incredibly helpful in staying motivated to consistently engage in behaviours associated with that identity. Being a healthy eater is like being someone who brushes their teeth or being a voter. Naturally, if you are someone who brushes their teeth, it would feel weird for you not to brush your teeth at least twice a day, right?

And now, thanks to your new start this summer, you identify as a healthy eater! You are now a person who picks a side salad over fries, says “no thanks” to cookies and cakes, and who brings your own healthy lunch to work every day. So, just as you might be a voter, a dog lover, a reader, a prize-winning grower of orchids, congratulations – you are now a healthy eater too!

References:
Bryan, C. J., Walton, G. M., Rogers, T., & Dweck, C. S. (2011). Motivating voter turnout by invoking the self. Proceedings of the National Academy of Sciences, 108(31), 12653-12656.

Why Squats Are a Really Powerful Exercise

Why Squats Are a Really Powerful Exercise

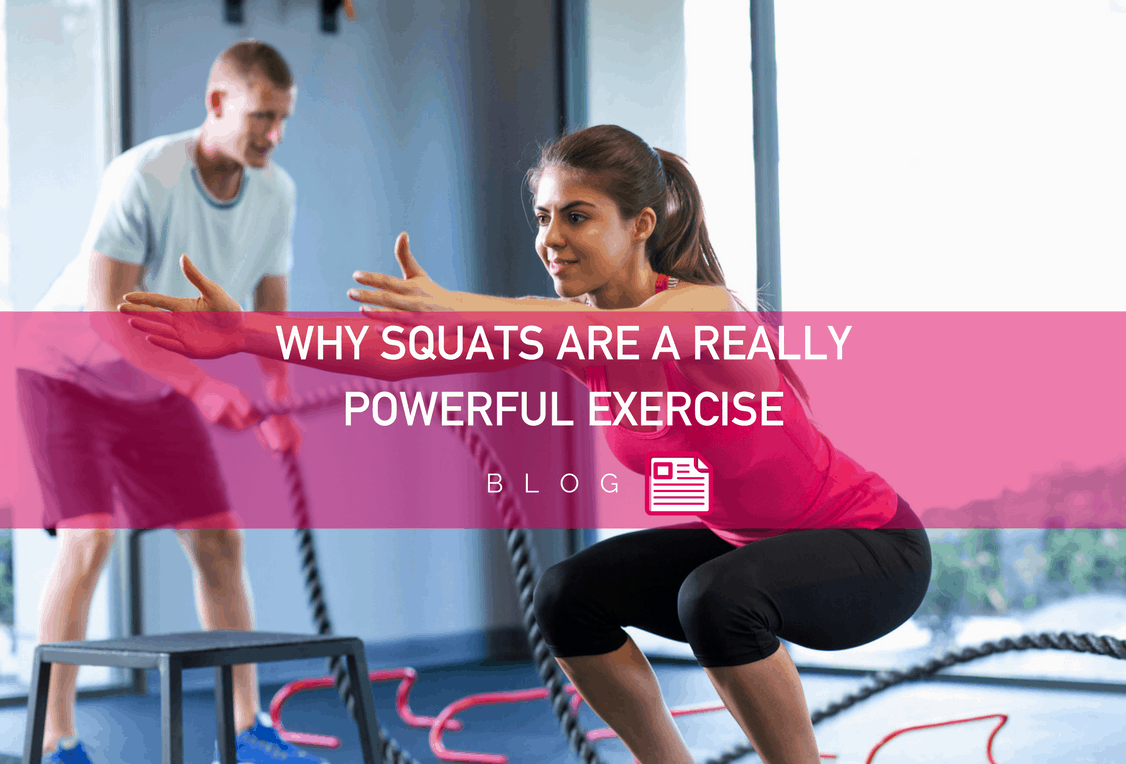
When exercising, one of the most fundamental and functional movements is a basic squat. There are so many modifications for beginners and variations to make them harder – they really never get old.

So you may be wondering what makes squats such a powerful exercise. After all, they seem like a pretty basic move. Well, there are a few very good reasons why squats should definitely be part of your regular exercise routine.

Functional Movement

Functional movements are powerful. They not only tone and tighten your muscles, but they also put your body through everyday movements, making you move more efficiently overall.

As we age, the importance of functional movements become apparent, especially as we become more sedentary. Movements that used to be easy, like sitting down in a chair or picking up a box, become increasingly harder. By maintaining functional movements in your workouts, you’re promoting total body mobility as you age.

Work Multiple Muscles at Once

Squats help tone and tighten your legs, glute muscles, and core muscles. So while at first glance you may think you’re only working your lower body with squats, you are in fact engaging your upper body too.

What areas in your legs and glutes your squats target mainly depend on your stance and where the weight is distributed (for example, you may be using weights, kettlebell, or a barbell).

How to Perform a Squat Correctly

How to Perform a Squat

Maintaining the correct form in every exercise you perform is vital. Bad form when performing squats with weight can be taxing to your knees and back. Here’s how to properly perform a squat:

  1. Start with your feet a little wider than shoulder-width apart, toes turned out slightly.
  2. When squatting, the movement should be as though you are about to sit in a chair. Your knees should not go over your toes and your chest should stay up.
  3. Keep your weight in your heels as you perform the squat, and as you push up into a standing position.
  4. When you are back in the starting position, squat down and complete the exercise again.

Start with 10 – 12 reps. Work your way up to 20 reps at a time with no weight (or 15 reps with weight).

How to Modify Squats

When you’re new to squats, balance can be challenging. To ease into this exercise, find something to hold onto during your squat. This will stabilize your body and help you complete the squat with good form. A railing is a good go-to!

The following two squat variations are also a great way to change things up:

The Sumo Squat

The Sumo Squat

The Curtsy Squat

The Curtsy Squat

If you’re looking for a challenge, adding weight to your squats is a great way to increase the intensity. Barbells, dumbbells, and kettlebells are great for adding a level of difficulty into your basic squat.

3 Healthy Recipes for Homemade Energy Bars

3 Healthy Recipes for Homemade Energy Bars

Energy bars are often at the top of the list when it comes to handy, healthy snacks. But not all bars are created equal. To ensure you’re feeding your body with the nutrients it needs, homemade energy bars are the way to go!

To sustain your energy you need a bar that’s nourishing and packed with natural sources of carbohydrates, protein, and fibre. This includes real foods such as fruit, seeds, and whole grains – not artificial ingredients and refined sweeteners.

The following three recipes are chock full of healthy, energizing, natural ingredients that will keep you going all day long! 

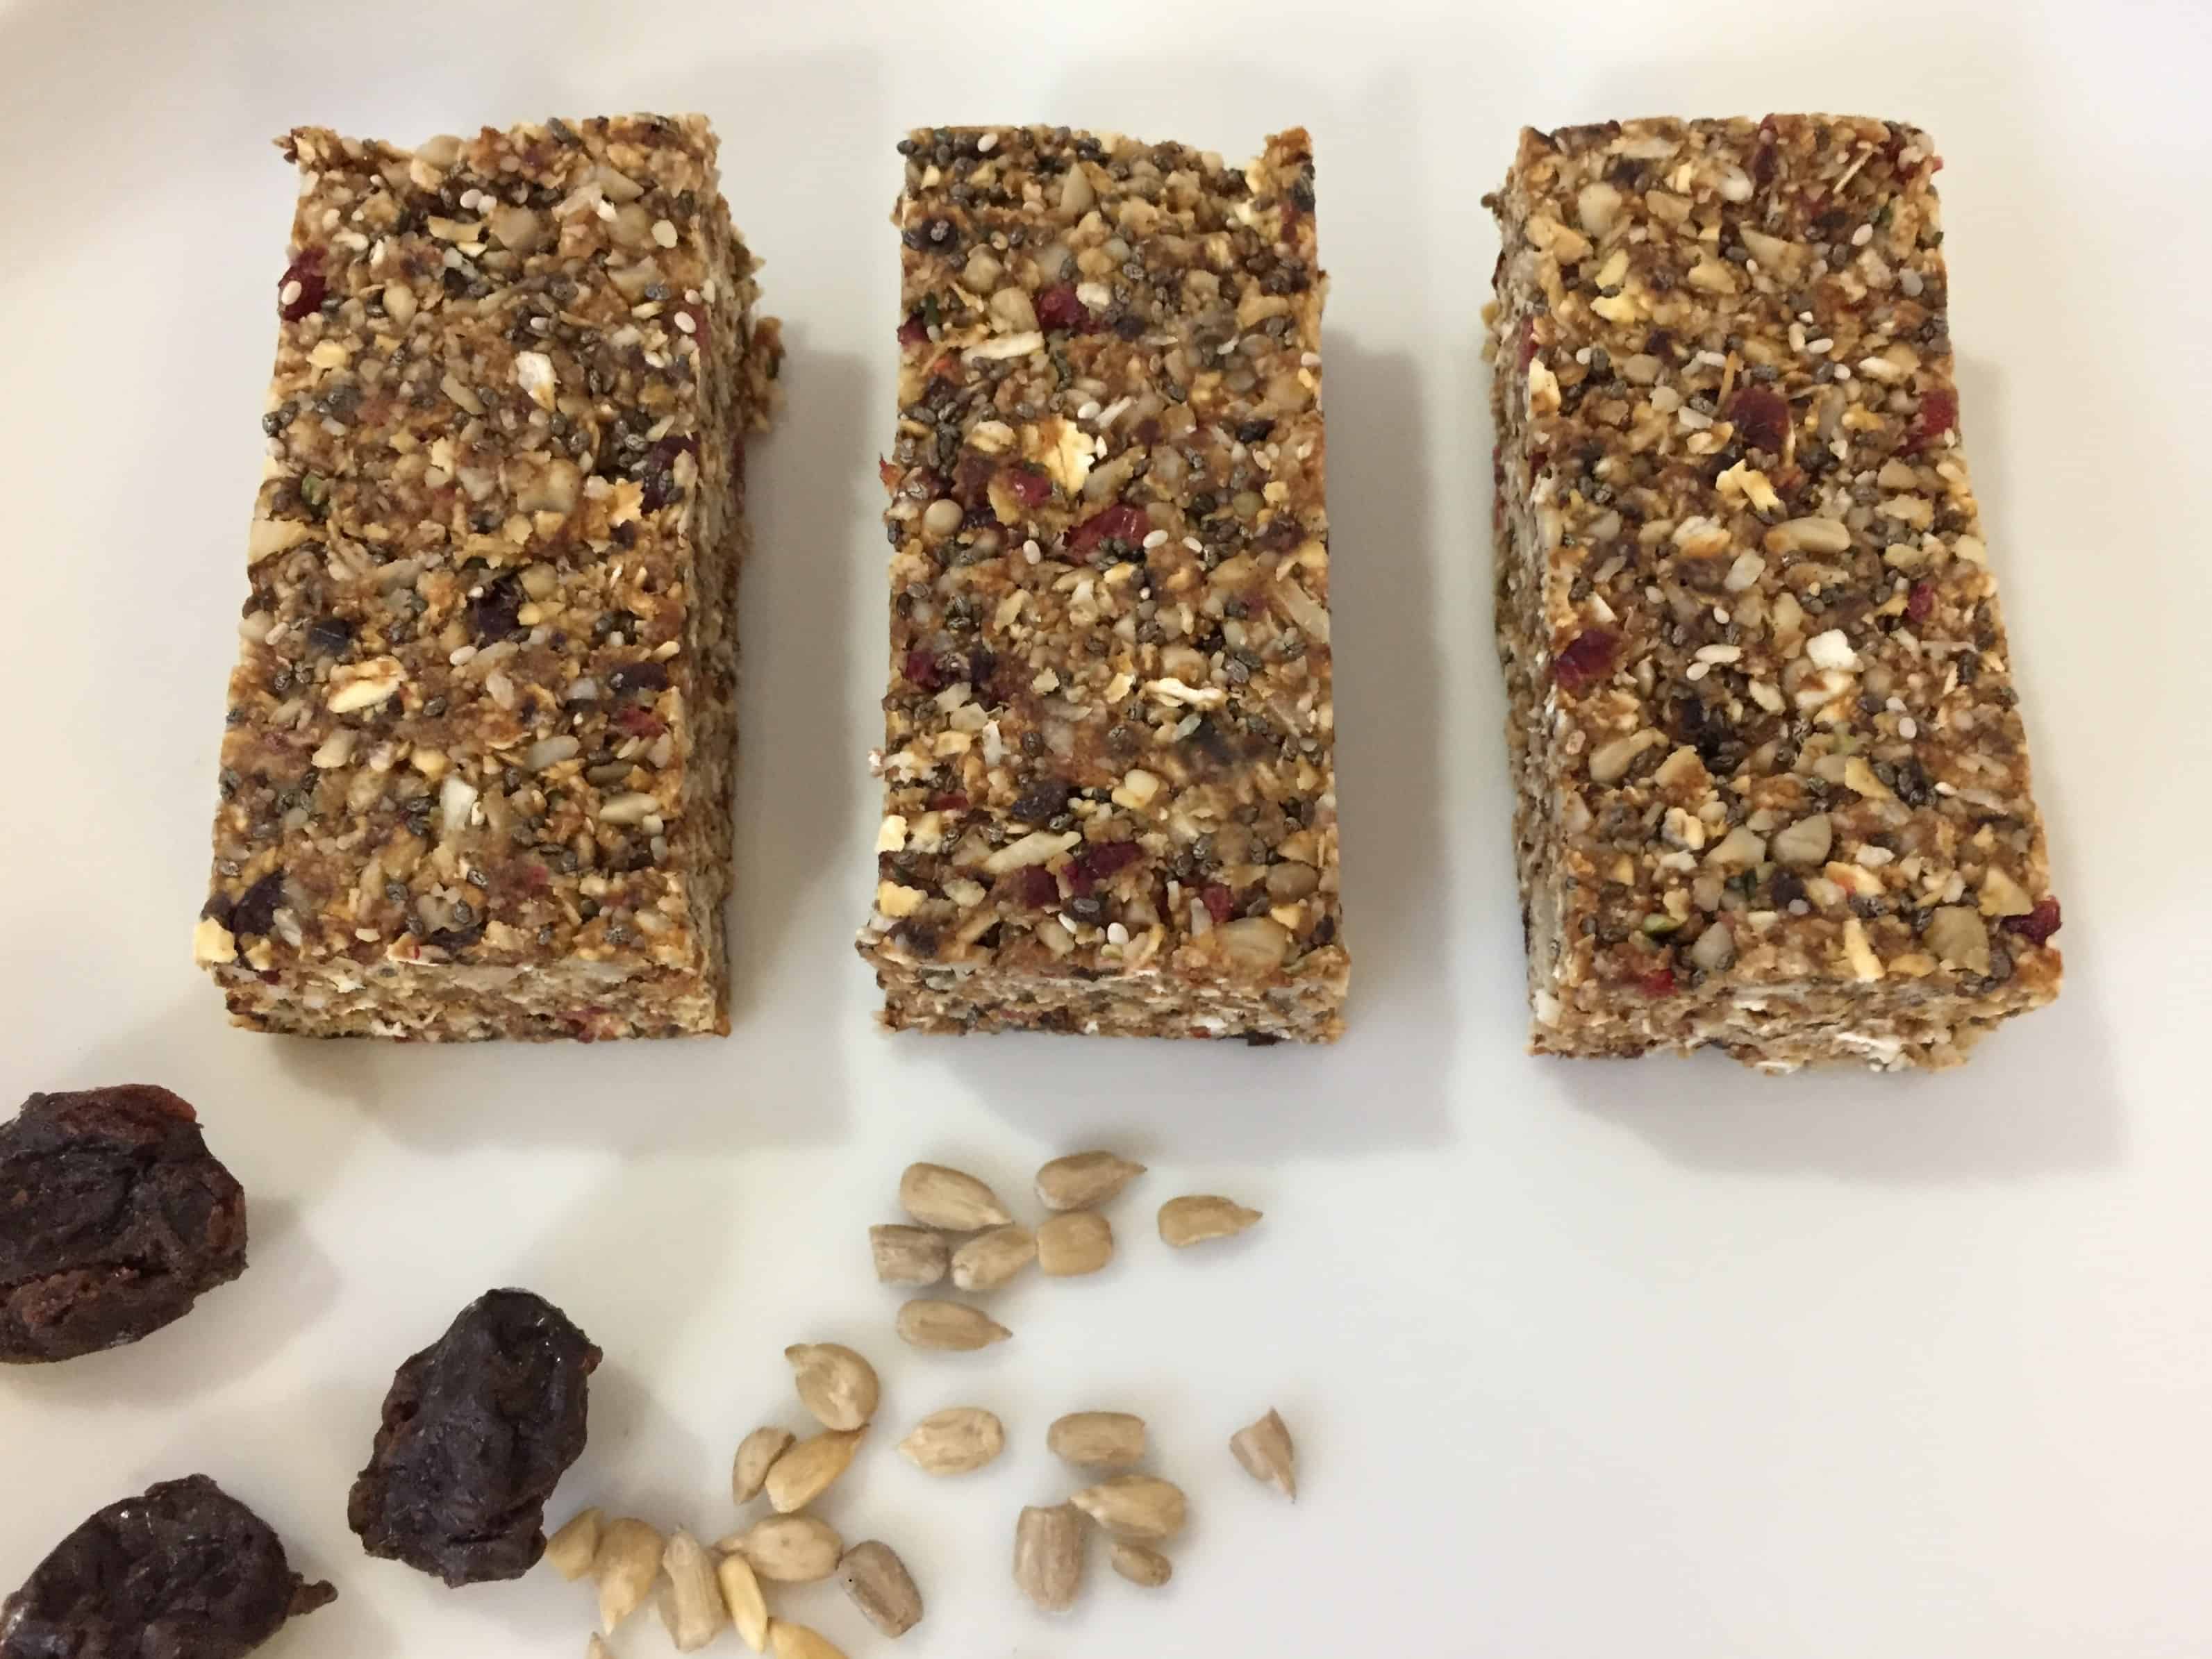
1. Fruit and Seed Bars

Fruit and Seed Bars

Ingredients:

  • ½ cup dried dates, pitted
  • 2 tbsp water
  • ¼ cup dried coconut, unsweetened
  • ½ cup prunes
  • 1 ½ cups old fashioned oats
  • ¼ cup dried cherries, finely chopped
  • ¼ cup coconut butter
  • 1 tbsp maple sugar
  • ½ cup sunflower seeds, hulled
  • ¼ cup hemp seeds
  • 2 tbsp chia seeds
  • ¼ cup coconut butter
  • ½ tsp pure vanilla extract

Instructions:

  1. Process dates, prunes, and water in a food processor until a doughy consistency is reached.
  2. Add oats, sunflower seeds, hemp seeds, chia seeds, dried coconut, and dried cherries. Process on low until evenly mixed.
  3. In a small saucepan, warm coconut butter and maple syrup until a runny paste is formed.
  4. Mix in vanilla and remove from heat.
  5. Immediately pour the paste over the batter and process on low until it is evenly mixed in.
  6. Line a 6 x 8 inch baking dish with parchment paper.
  7. Press batter into the pan until level. Refrigerate for 2 hours.
  8. Cut into 12 bars.
  9. Place in an airtight container and store in the fridge.

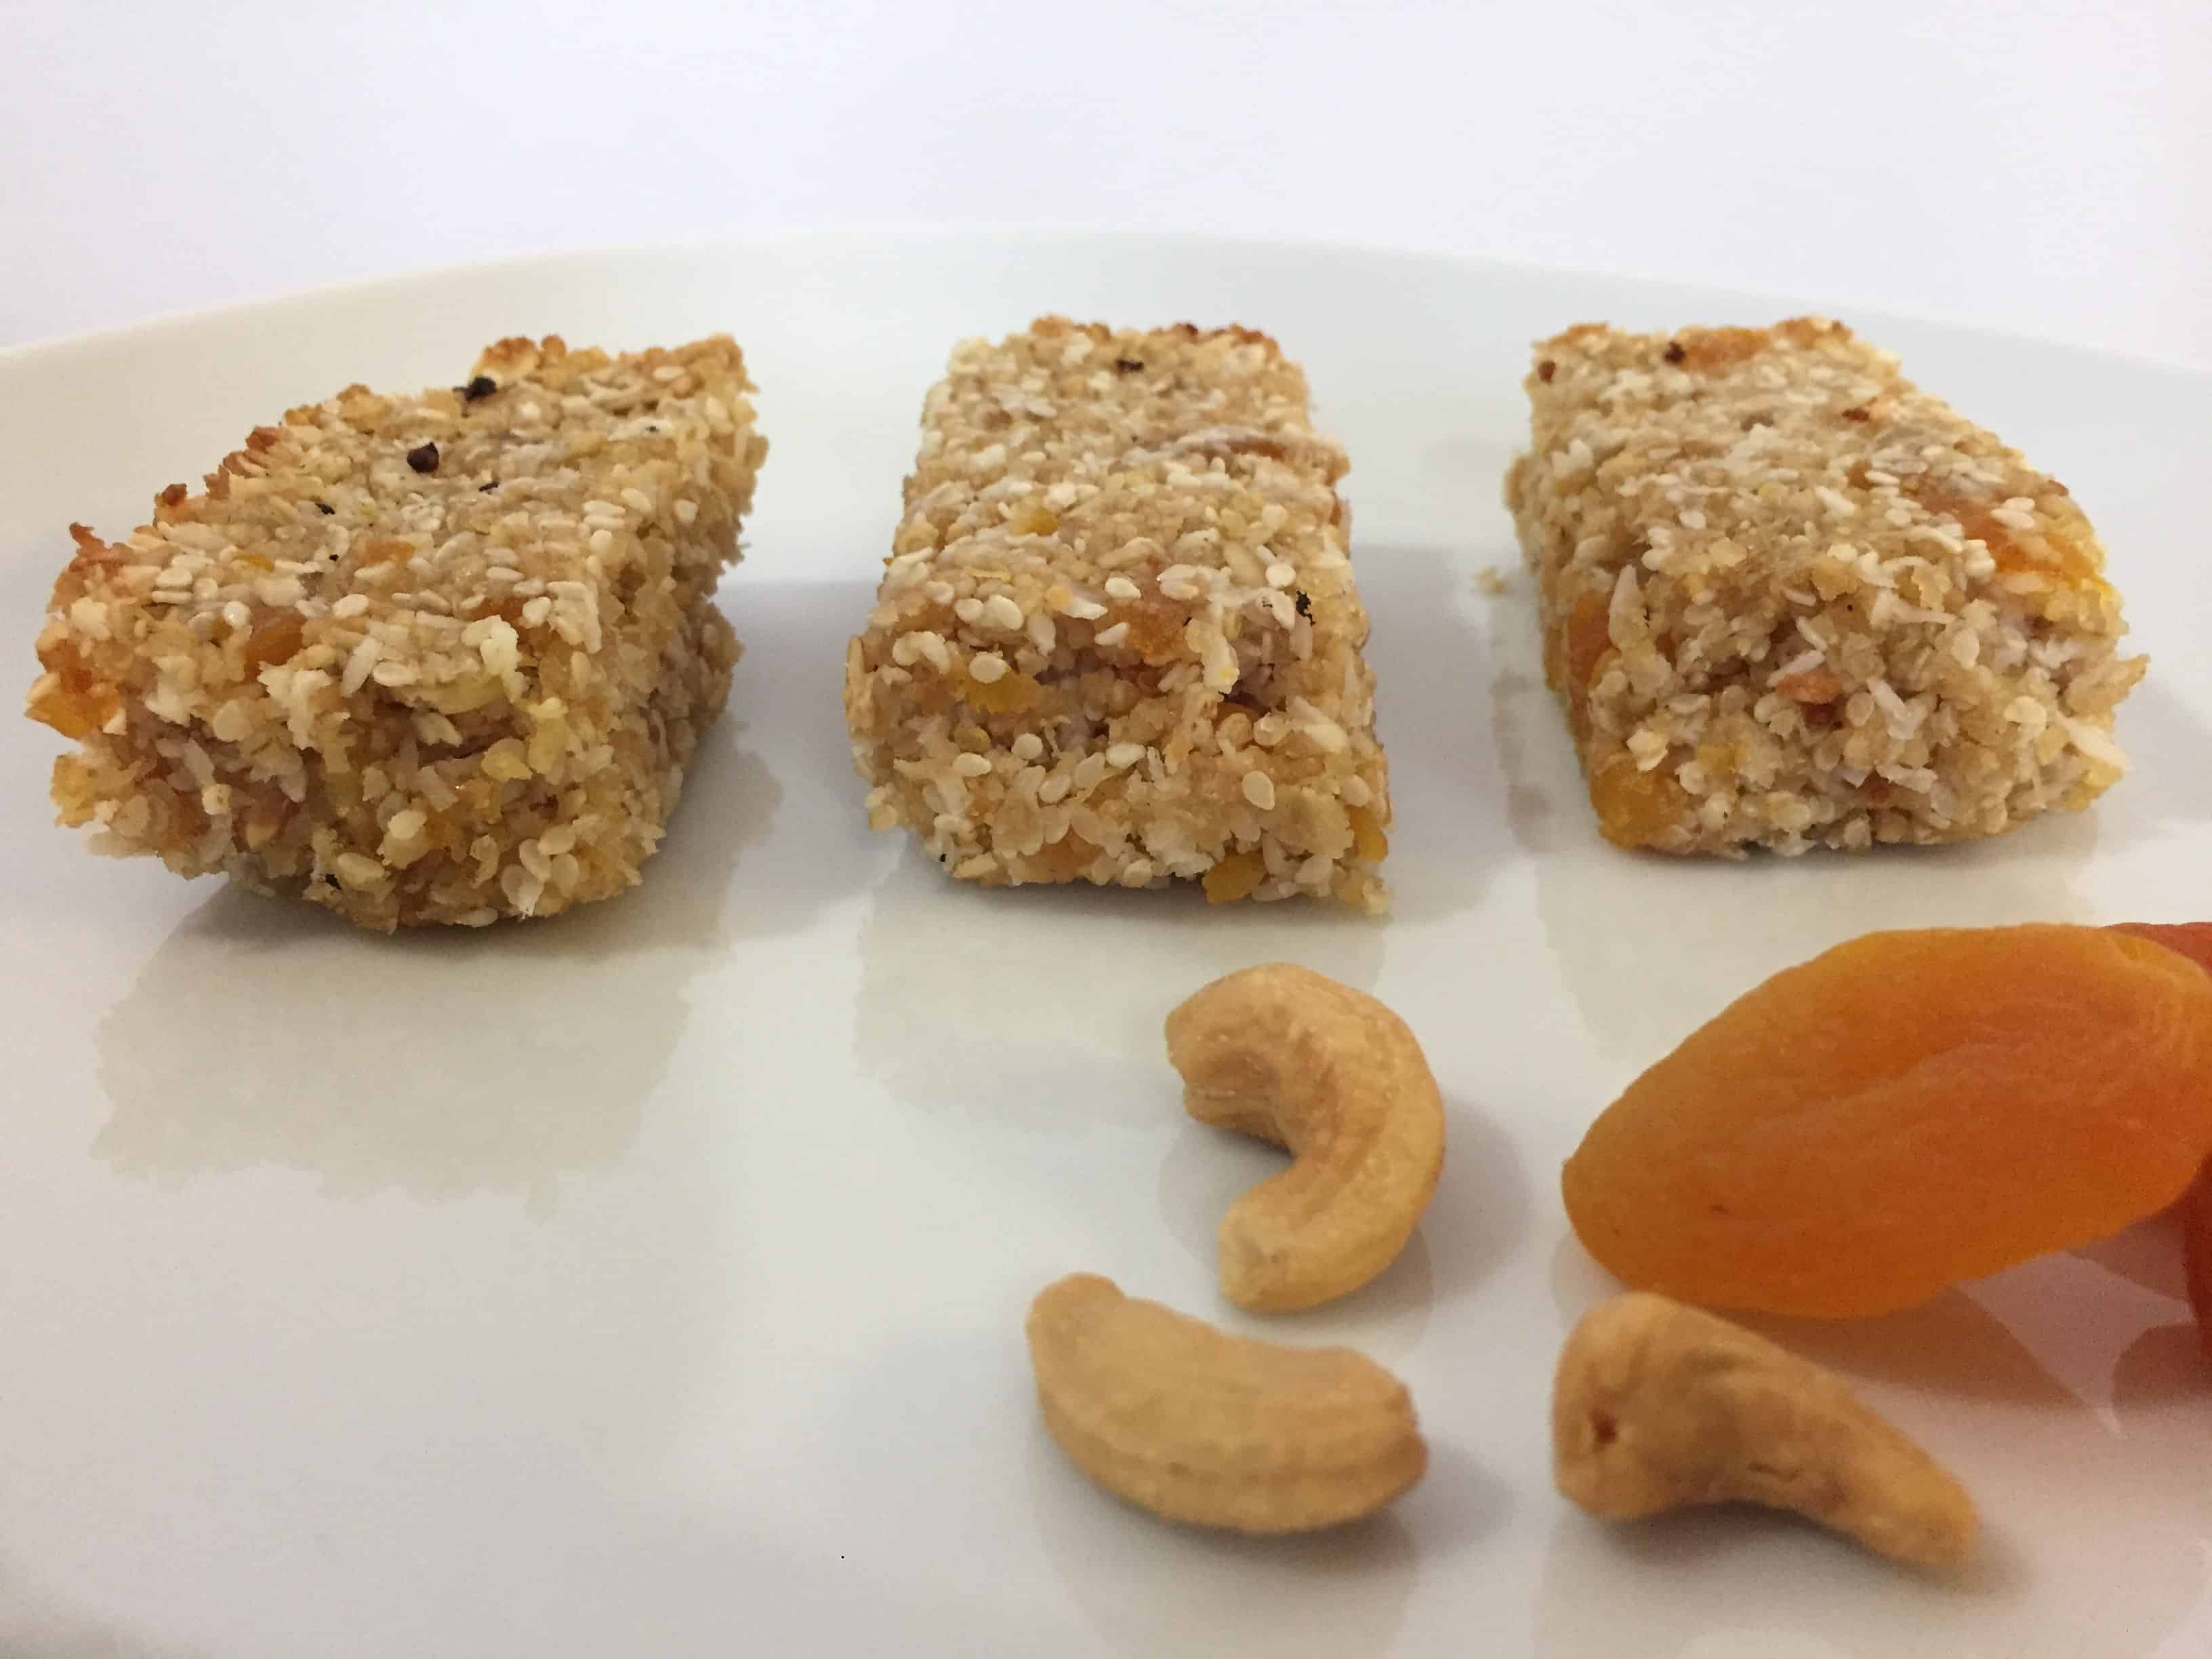
2. Quinoa Cashew Bars

Quinoa Cashew Bars

Ingredients:

  • 1 cup quinoa, cooked
  • ½ cup rolled oats
  • 1 tsp pure vanilla extract
  • ½ cup cashew butter
  • ½ cup unsweetened shredded coconut
  • ½ cup dried apricots, finely chopped
  • ¼ cup honey
  • ½ cup sesame seeds
  • ¼ tsp salt

Directions:

  1. Combine quinoa, oats, cashew butter, sesame seeds, coconut, and dried apricots in a bowl and mix well.
  2. Mix in honey.
  3. Transfer into a parchment paper lined 6 x 8 inch baking dish.
  4. Press firmly into the dish to form a dense, even layer.
  5. Bake at 350 degrees F for 15-20 minutes or until lightly golden on top.
  6. Allow to cool, then slice into 12 bars
  7. Place in an airtight container and store in the fridge.

3. Peanut Butter Lentil Bars

Peanut Butter Lentil Bars

Ingredients

  • 1 cup red lentils, cooked
  • ½ cup dates
  • ½ cup peanut butter
  • 2 cups rolled oats
  • ¼ cup almonds, chopped
  • ¼ cup almond flour
  • ¼ tsp salt
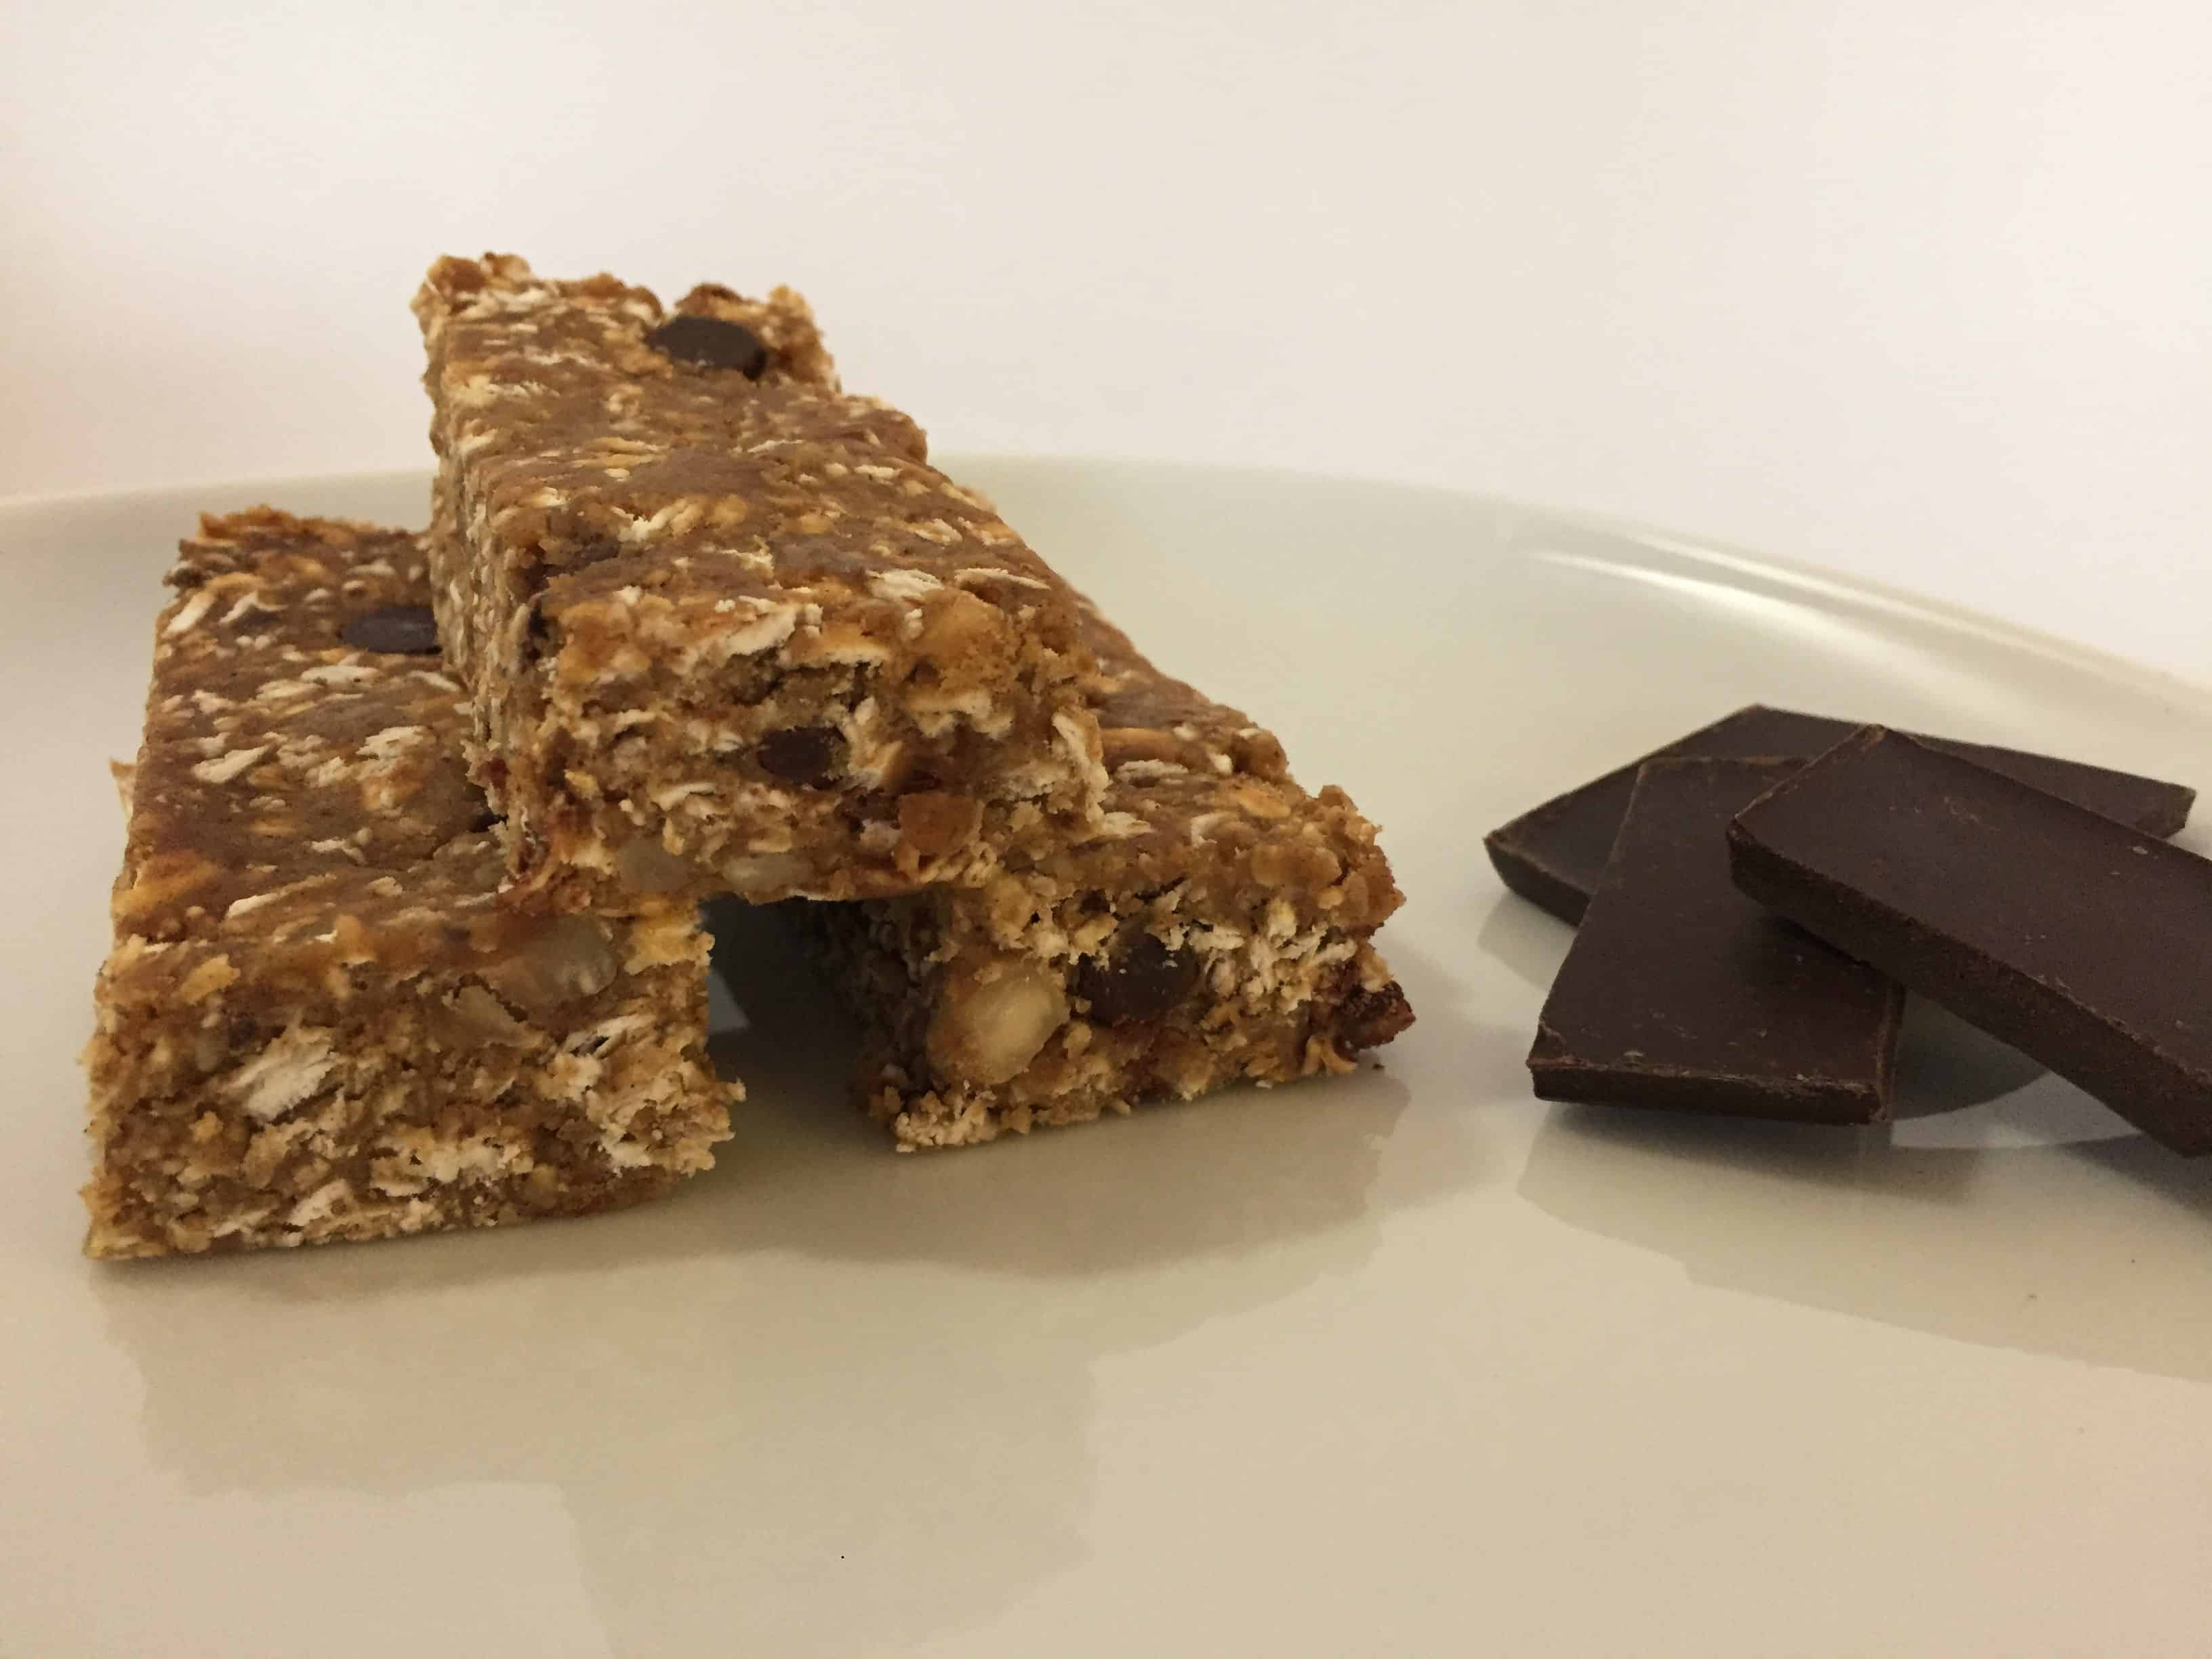
  • ¼ cup dark chocolate, chopped

Instructions

  1. Blend lentils, dates, and peanut butter in a food processor until a sticky batter is formed.
  2. Transfer to a large bowl.
  3. Using a wooden spoon, mix in oats, almonds, almond flour, salt, and chocolate.
  4. Transfer into a parchment paper lined 6 x 8 inch baking dish.
  5. Press batter firmly into an even layer. Refrigerate for about 2 hours.
  6. Cut into 12 bars.
  7. Place in an airtight container and store in the fridge.

Now that we’ve got you energized, stock-up on PGX® Daily Ultra Matrix Softgels* to support your healthy eating habits and help balance blood sugar levels already within the normal range.† The discrete softgels are convenient and can be taken with or without food with a glass of water.

*Drink additional water (8 fl. oz.) after ingesting PGX®. If you are taking medications, take one hour prior to or two hours after taking PGX®.

5 of the Most Hydrating Foods

5 of the Most Hydrating Foods

Don’t wait for your water break to rehydrate. Instead, fuel your fluid levels throughout the day with a steady intake of healthy hydrating foods!

This means foods with high-water content that also contain fibre to promote gradual absorption of water through your intestines, as well as electrolytes to help with its uptake and balance within your cells.

Eat your way to healthy hydration with these five hydrating foods:

1. Juicy Vegetables

Up your hydration by adding a handful of cucumbers and lettuce to your mid-day sandwich, munching on a cup of diced celery and radishes throughout the morning, or topping your evening risotto with fresh watercress. All of these veggies are top contenders in the hydration and fibre categories – we’re talking over 93% water by weight! [1]

Melons2. Melons

There’s nothing like a juicy slice of watermelon to help you refresh on a sunny day. But don’t stop there – honeydew, cantaloupe, and casaba melons all contain at least 90% water per weight, in addition to electrolytes, natural sugars, and vitamins [1]. A mixed melon salad, with a little mint and lime, is a great addition to a BBQ or a sports day.

3. Yogurt

The potassium, sodium, and calcium in yogurt are electrolytes that contribute to fluid balance and hydration. This, in addition to the quality protein, carbohydrate, and water levels in plain low-fat yogurt, all add up to make it a fantastic post-workout snack.

4. Smoothies

By including a healthy 2:1 ratio of vegetables to fruits in your smoothie, combined with unsweetened soy, almond, or hemp milk, you’ll be covering the key bases for hydration: water, electrolytes, and fibre. It’ll be delicious and filling too!

soups5. Soups

As the mercury rises, a scrumptious bowl of chilled soup can be satisfying and hydrating.

Top picks include:

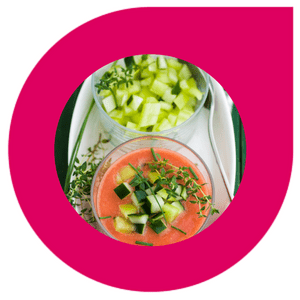
  • Gazpacho
  • Chilled beet soup
  • Cold pea soup
  • Curried zucchini soup

Don’t forget to combine the satiating benefits of *PGX Daily Singles with your favourite hydrating foods, as it can also reduce the glycemic index of meals by up to 60%! Simply stir 1–2 of the discrete and convenient packets into 375–500 mL of beverage, soup, smoothie, or other foods. Use them before or with meals and snacks for best results!

*Drink additional water (8 fl. oz.) after ingesting PGX. If you are taking medications, take one hour prior to or two hours after taking PGX.

References:

[1]  USDA. National Nutrient Database for Standard Reference Release 28. Web. 3.May 2017.

How to Target and Strengthen Your Abdominal Muscles

How to Target and Strengthen Your Abdominal Muscles

Our abdominal muscles are an integral part of our core, which helps provide stabilization for a lot of our movements. Strong abdominals contribute to a strong core. But abdominal workouts can be challenging and confusing, especially if you’re new to working out.  So what is the best way to strengthen your abdominal muscles?

Your Abdominal Muscles

Abdominal muscles are one section of your core and are made up of mainly four different groups:

  1. Transversus abdominis,
  2. Rectus abdominis
  3. External oblique muscles
  4. Internal oblique muscles

The abdominal group of muscles cover your internal organs and can be found in front of your body, below your chest and above your hips. The internal and external oblique muscles span the sides of your body.

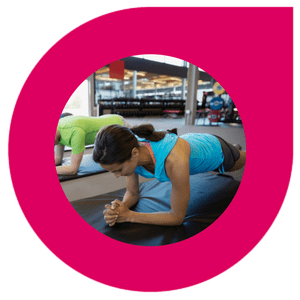
When you think of abdominal exercises crunches probably spring to mind. When you perform a crunch movement, your body targets the rectus abdominus muscle (what you see as a “6 pack”) and the external and internal obliques. Planks on the other hand, work all four groups of abdominal muscles and are deemed one of the best movements for strengthening not only your abs but also your core in general.

Top 4 Moves to Strengthen Your Abdominal Muscles

There are many types of exercises and specific moves that will help build and maintain core strength. But I’m going to share with you today, my top four moves to effectively target and strengthen your abdominal muscles:

Ball Crunches1. Ball Crunches

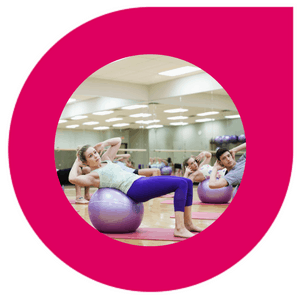
Adding a stability ball into your abdominal workout allows your body to get a wider range of motion while protecting your back. So take your crunches up off the floor and onto a stability ball!

Work up to doing 2–3 sets of ball crunches, 15 repetitions at a time.


Directions:

  1. Sit comfortably on a stability ball and slowly walk your legs out so that your back is in the middle of the ball.
  2. Keep your feet planted firmly on the ground, your hands behind your neck to support it and your core tight.
  3. Contract your abs and exhale as you raise your torso about 45 degrees.
  4. Pause, then lower, inhaling as you go.

Plank2. Plank

Adding planks to your workout is a great way to strengthen your entire core, as this movement works all four groups of abdominal muscles.

When you start adding planks to your exercise routine, work up to being able to hold the position for 1 minute at a time, with three repetitions.


Directions:

  1. Get in a push-up position and hold yourself up with your forearms, with your elbow directly under your shoulders.
  2. Hold your body in a straight line with your core tight. Do not let your back arch.
  3. Hold for as long as you can.

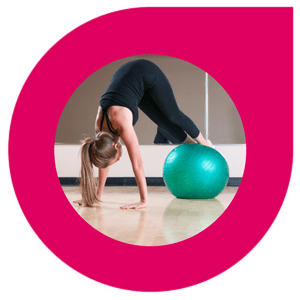
Ab Rollout Using Stability Ball3. Ab Roll Out Using Stability Ball

This seemingly simple movement is much harder than it seems. And again, we’re adding a stability ball into the mix!

As you stretch out your abdominal muscles using the stability ball, you’re making them work. This is a great exercise to help strengthen your abdominal muscles.

Directions:

  1. Start on your knees with a stability ball about 1.5–2 feet in front of you.
  2. Rest your forearms on the ball and slowly roll the ball away from your body, keeping your back straight.
  3. When your arms can no longer go out anymore, or your form is going to break, slowly pull the ball back into the starting position.

Cable Wood Chop4. Cable Wood Chop

This movement involves pulling a cable weight across your body in an upward to downward or downward to upward motion. You will need to use a free motion cable machine for this exercise, which is common to most gyms. This exercise works your stabilizer muscles including your rectus abdominis and oblique muscle groups.

Directions:

  1. Using a free motion cable machine, put on the extension that looks like a triangle, with a hand hold.
  2. Select a weight you can pull across your body 15–20 times.
  3. Adjust the arm of the machine to your starting position, either up high or down low.
  4. Hold the triangle with both hands.
  5. Keeping your arms straight and legs hip-width apart, pull the cable across your body as your torso rotates, in one fluid movement.
  6. Return to the start and begin the movement again.

4 Ways to Ease Sore Muscles After Working Out

4 Ways to Ease Sore Muscles After Working Out

With Summer right around the corner, you may be scrambling to get back into an exercise routine. And with a new exercise routine or extra hard training in your normal routine, comes sore muscles. Luckily, there are a few effective, easy home treatments to help soothe your aches and pains.

What Causes Sore Muscles

Delayed onset muscle soreness, which typically occurs 1–2 days after exercise and lasts an average of 2–3 days, is the most common form of post-workout aches and pains. When you’re working out hard, tiny tears happen within your muscles, which cause soreness.

Thankfully, there are some very effective ways to deal with muscles soreness. In fact, I’m going to share four of my favourite tips for soothing sore muscles – and with this insider knowledge, you can go forth in exercise without fear!

Epsom Salt Bath1. Epsom Salt Bath

Epsom salt contains magnesium which can help relax skeletal muscles and flush out the lactic acid buildup that happens with exercise. You can buy this magical salt in most grocery stores, and it even comes in different scents like lavender or citrus.

To help soothe sore muscles, warm up a bath and sprinkle in 2–4 cups of Epsom salt. Soak for 20–30 minutes.

2. Massage

Not only do massages feel incredibly relaxing, but they can also help ease muscle pain after a hard workout. Studies have shown that massage reduces a compound that plays a critical role in muscle inflammation after working out. It also stimulates mitochondria which aids in muscle repair [1].

There are multiple types of massages such as sports massage, deep tissue, swedish, and lomi lomi. Sports and deep tissue massage are the go-to post-workout recovery aids that many elite athletes turn to.

Ice Bath3. Ice Bath

Ice Baths are a sworn recovery secret by many top athletes like marathoners, Olympic lifters, and NFL players. They aren’t for the faint of heart, however.

Following a hard workout, submerging your body in ice cold water for 15 minutes is believed to help with recovery time and muscle inflammation. In recent studies, ice baths have reduced muscle soreness by about 20% [2].

You can create your own ice bath by filling up your tub and adding ice cubes to it. The goal is to get the water to around 46 degrees.

4. Arnica

Arnica is a homeopathic medicine that comes from a flower and can relieve swelling, bruising, and pain. It can be taken in pill form or used as a cream, gel or ointment, and is a great option for anyone who doesn’t want to take Ibuprofen or other over-the-counter pills. You can find Arnica in your local supplement store or natural foods store.

References:

[1] Bakalar, Nicholas. “How Massage Heals Sore Muscles.” The New York Times. The New York Times, 06 Feb. 2012. Web. 29 Apr. 2017.

[2] Doheny, Kathleen. “Ice Baths for Sore Muscles Can Work.” WebMD. WebMD, 14 Feb. 2012. Web. 29 Apr. 2017

Gym Bag Essentials: 8 Helpful Items for Gym Goers

Gym Bag Essentials

Whether you hit the gym before or after work, during your lunch break, or later in the evening, a successful gym outing can depend on what you did – or didn’t – bring with you.

While the specific contents of your gym bag are going to differ wildly depending on your personal preferences, when you work out, and what type of workout you’re doing, there are a few basic that should be in everyone’s bag.

Finding the Right Gym Bag

When you become a gym goer, you’re going to need a bag. There are two basic things to consider when it comes to finding the right one:

1. The Locker Situation

Depending on the gym, some have lockers that are huge and can fit any size bag. Others have much smaller lockers. The size of your gym bag is going to depend on the size of your storage!

Something else to consider is how you’re going to ensure your gym bag stays safe and secure. Some gyms provide pre-programmed locks while others require you to bring your own.

2. Your Gym Bag Items

What needs to go in your bag is going to also dictate the size and functionality of your gym bag. Do you need a few easy-access pockets? A mesh water bottle holder? More than one compartment? What about some zippered spaces to keep your keys, wallet, or jewellery?

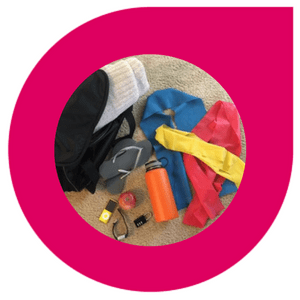
8 Gym Bag Essentials

Now that you have the perfect gym bag, it’s time to decide what goes in it.

While the contents of your gym bag are going to differ, there are nine basic items I consider to be must-haves for any gym bag.

1. Flip Flops

Are you showering after a workout? Many gyms have showers available to use after your workout and it always wise to protect your feet in any public shower area with flip flops!

2. Towel

A towel is one of those must-have gym items. Even if you aren’t making use of the showers, you’ll need a towel to wipe your sweat away afterwards. You may also prefer to workout with a towel handy, in case you want to lay it down underneath you when using the mats.

3. Post Workout Snack

After a hard workout your body is going to need fuel. Having a healthy snack on hand can curb cravings until you are home and can make a proper meal.

4. Water Bottle

Having a water bottle with you during your workout will help keep you hydrated, which is so important when exercising.

5. Music Device / Earphones

You might like to crank up the tunes and power through your workout. Or, perhaps you just want to tune out to a great cooking show. Either way, make sure you have your music device and earphones with you to help you stay motivated!

6. Jacket

If you’re in a cool area, you’ll want a clean jacket or shirt to change into, especially if you’re a sweater!

7. Watch

Keep a watch on hand. Not only will it help you keep time but you can also use it as a stop watch or heart rate monitor.

8. Gloves, Wrist Wraps, and Weightlifting Belt

These particular items aren’t going to be for everyone, but if your main focus is lifting weights, they are must-haves. Gloves protect your hands from slipping and blisters, while wrist wraps support your wrists when gripping heavy weights. Weightlifting belts are used to protect your lower back when attempting movements like deadlifts.

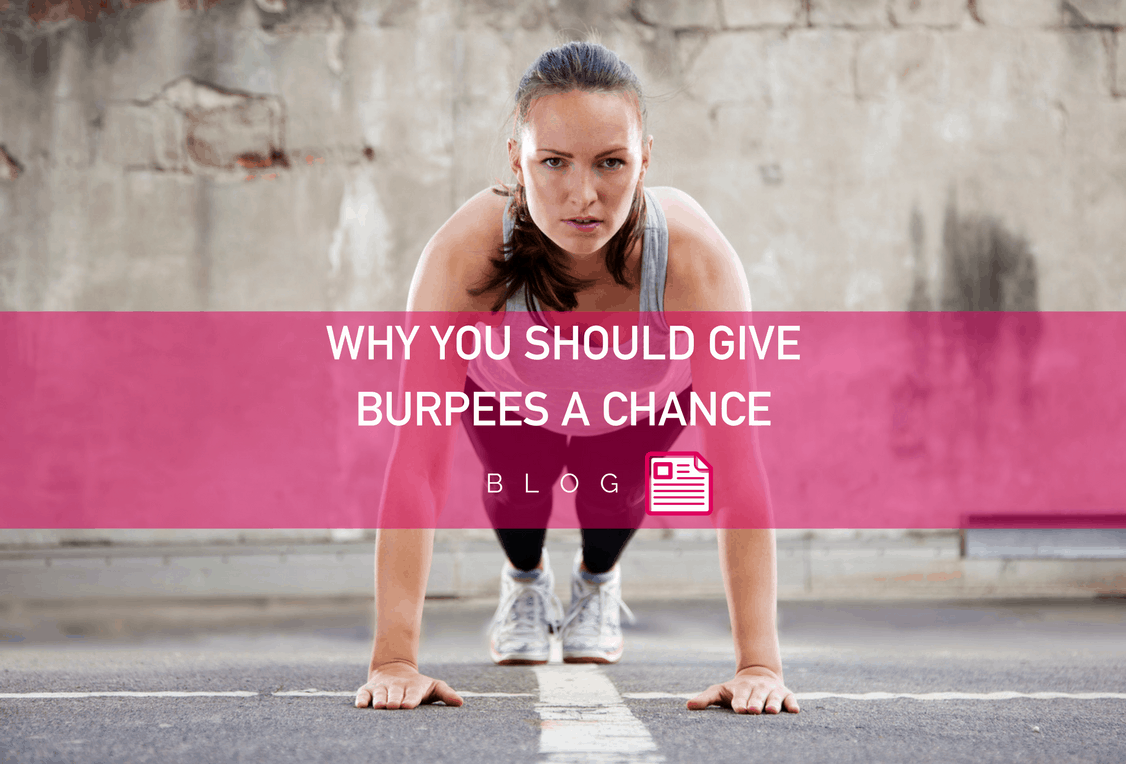
Why You Should Give Burpees a Chance

Why You Should Give Burpees a Chance

For most, burpees are a groan-inducing exercise. A favourite of gym teachers, personal trainers, and boot camp instructor alike, the burpee is an exercise most of us have done, and hated, at some point in our fitness pursuits. But it’s time to stop fearing and start embracing the burpee! Here’s why:

It’s a Great Total Body Workout

The burpee involves your upper body, lower body, and core all-in-one simple, cardio-busting movement!

Like jumping jacks, burpees can be done in sequence and utilized in a circuit. Since it’s such a great cardio move, burpees are often pulled into an exercise simply to raise your heart rate between exercises (known as active rest).

Like with all strength movements, burpees get easier with time and practice. At first, doing 10 may seem like a tremendous feat, but after practicing a few times a week, you’ll be doing 30 in a row no problem.

How to Execute a Burpee

  1. Start in a standing position.
  2. Bend your knees and place your hands on the ground in front of you, jumping your legs back into an upward plank.
  3. Jump your feet back in and stand up.

You can also add a little jump at the end. Or, for added difficulty, you can do a push up as your legs jump back into an upward plank. The goal is to make this one fluid motion.

This video from Linora Low is a great visual on how to execute a burpee properly.

A Burpee Circuit

Here’s a fun burpee circuit you can do in 10 minutes, no equipment needed! As this circuit is a full cardio circuit, ensure you are cleared by your physician to do rigorous heart-pumping exercise before starting.

Do each move in the circuit for 30 seconds, then rest for one minute, and repeat!

  1. Burpees
  2. Jog in place
  3. Jump squats
  4. Jog in place
  5. Burpees
  6. Rest
  7. Jumping jacks
  8. Rest
  9. Burpees
  10. Jumping jacks